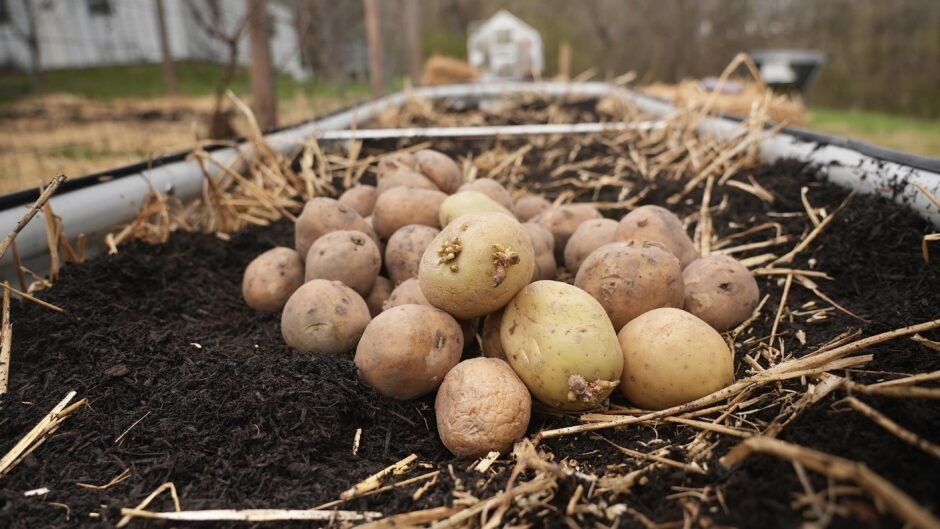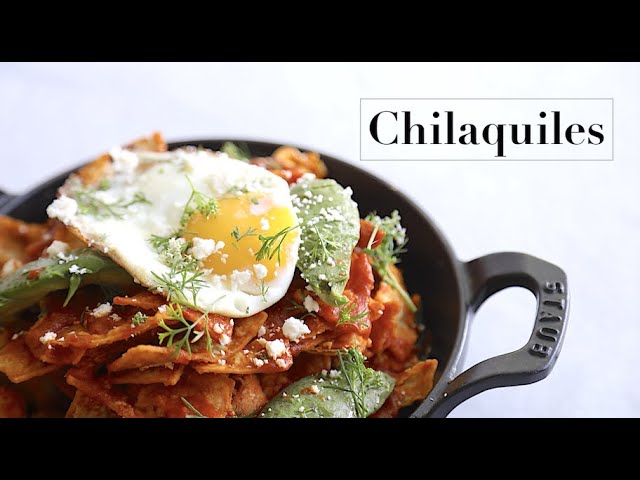


To buy pasture eggs or not to buy pasture eggs is the question? Or is it free range? Or what about cage free? Too much wiggle room for true definition in my opinion, but what does a skater boy from SoCal know anyways… Other than working with some of the best chefs in the world, I’m a bit agriculturally unqualified to truly speak to the perfect egg paradise, but I will give it a shot. White eggs seems to be a thing of the past, and that’s all I knew as a 90’s kid, but in all reality, that’s not the difference maker that we think it is, or even at all. It always goes back to how the chickens are raised, what feed they consistently have access to, and if they are general happy birds with proper leg room, not the color of the shell or the yolk. The whole “pasture, free range, cage free part” is what really turns me upside down. Those terms are loosely used and have almost no meaning unless they’re directly observed by the consumer in order to make an educated choice on the truth behind their intended name, which seems to be impossible. Dark yolks have always been associated with that of extreme high quality and proper care, and for good reason, but that’s really not even the case when you boil it down to the nitty gritty of what a happy chicken is. I will show you how to achieve dark eggs in this post, but whether or not they’re made from happy-healthy chickens is solely up to the one in charge of them, and the environment they’re exposed to, not just the result of the desired product. I actually learned this trick from Dan Barber of Blue Hill Farms about 15 years ago while working at Bouchon Beverly Hills with Thomas Kellers team. The whole kitchen was fascinated with “red pepper eggs” and a few vendors at the Santa Monica farmers market started selling “dark yolk eggs” at a premium and we couldn’t buy them up fast enough for our breakfast menu specials. Now that I have chickens myself, I finally had a chance to try it out on my very own birds in an attempt to demystify the whole thing, so I’m going to let you in on a little secret that’s not so secret anymore.
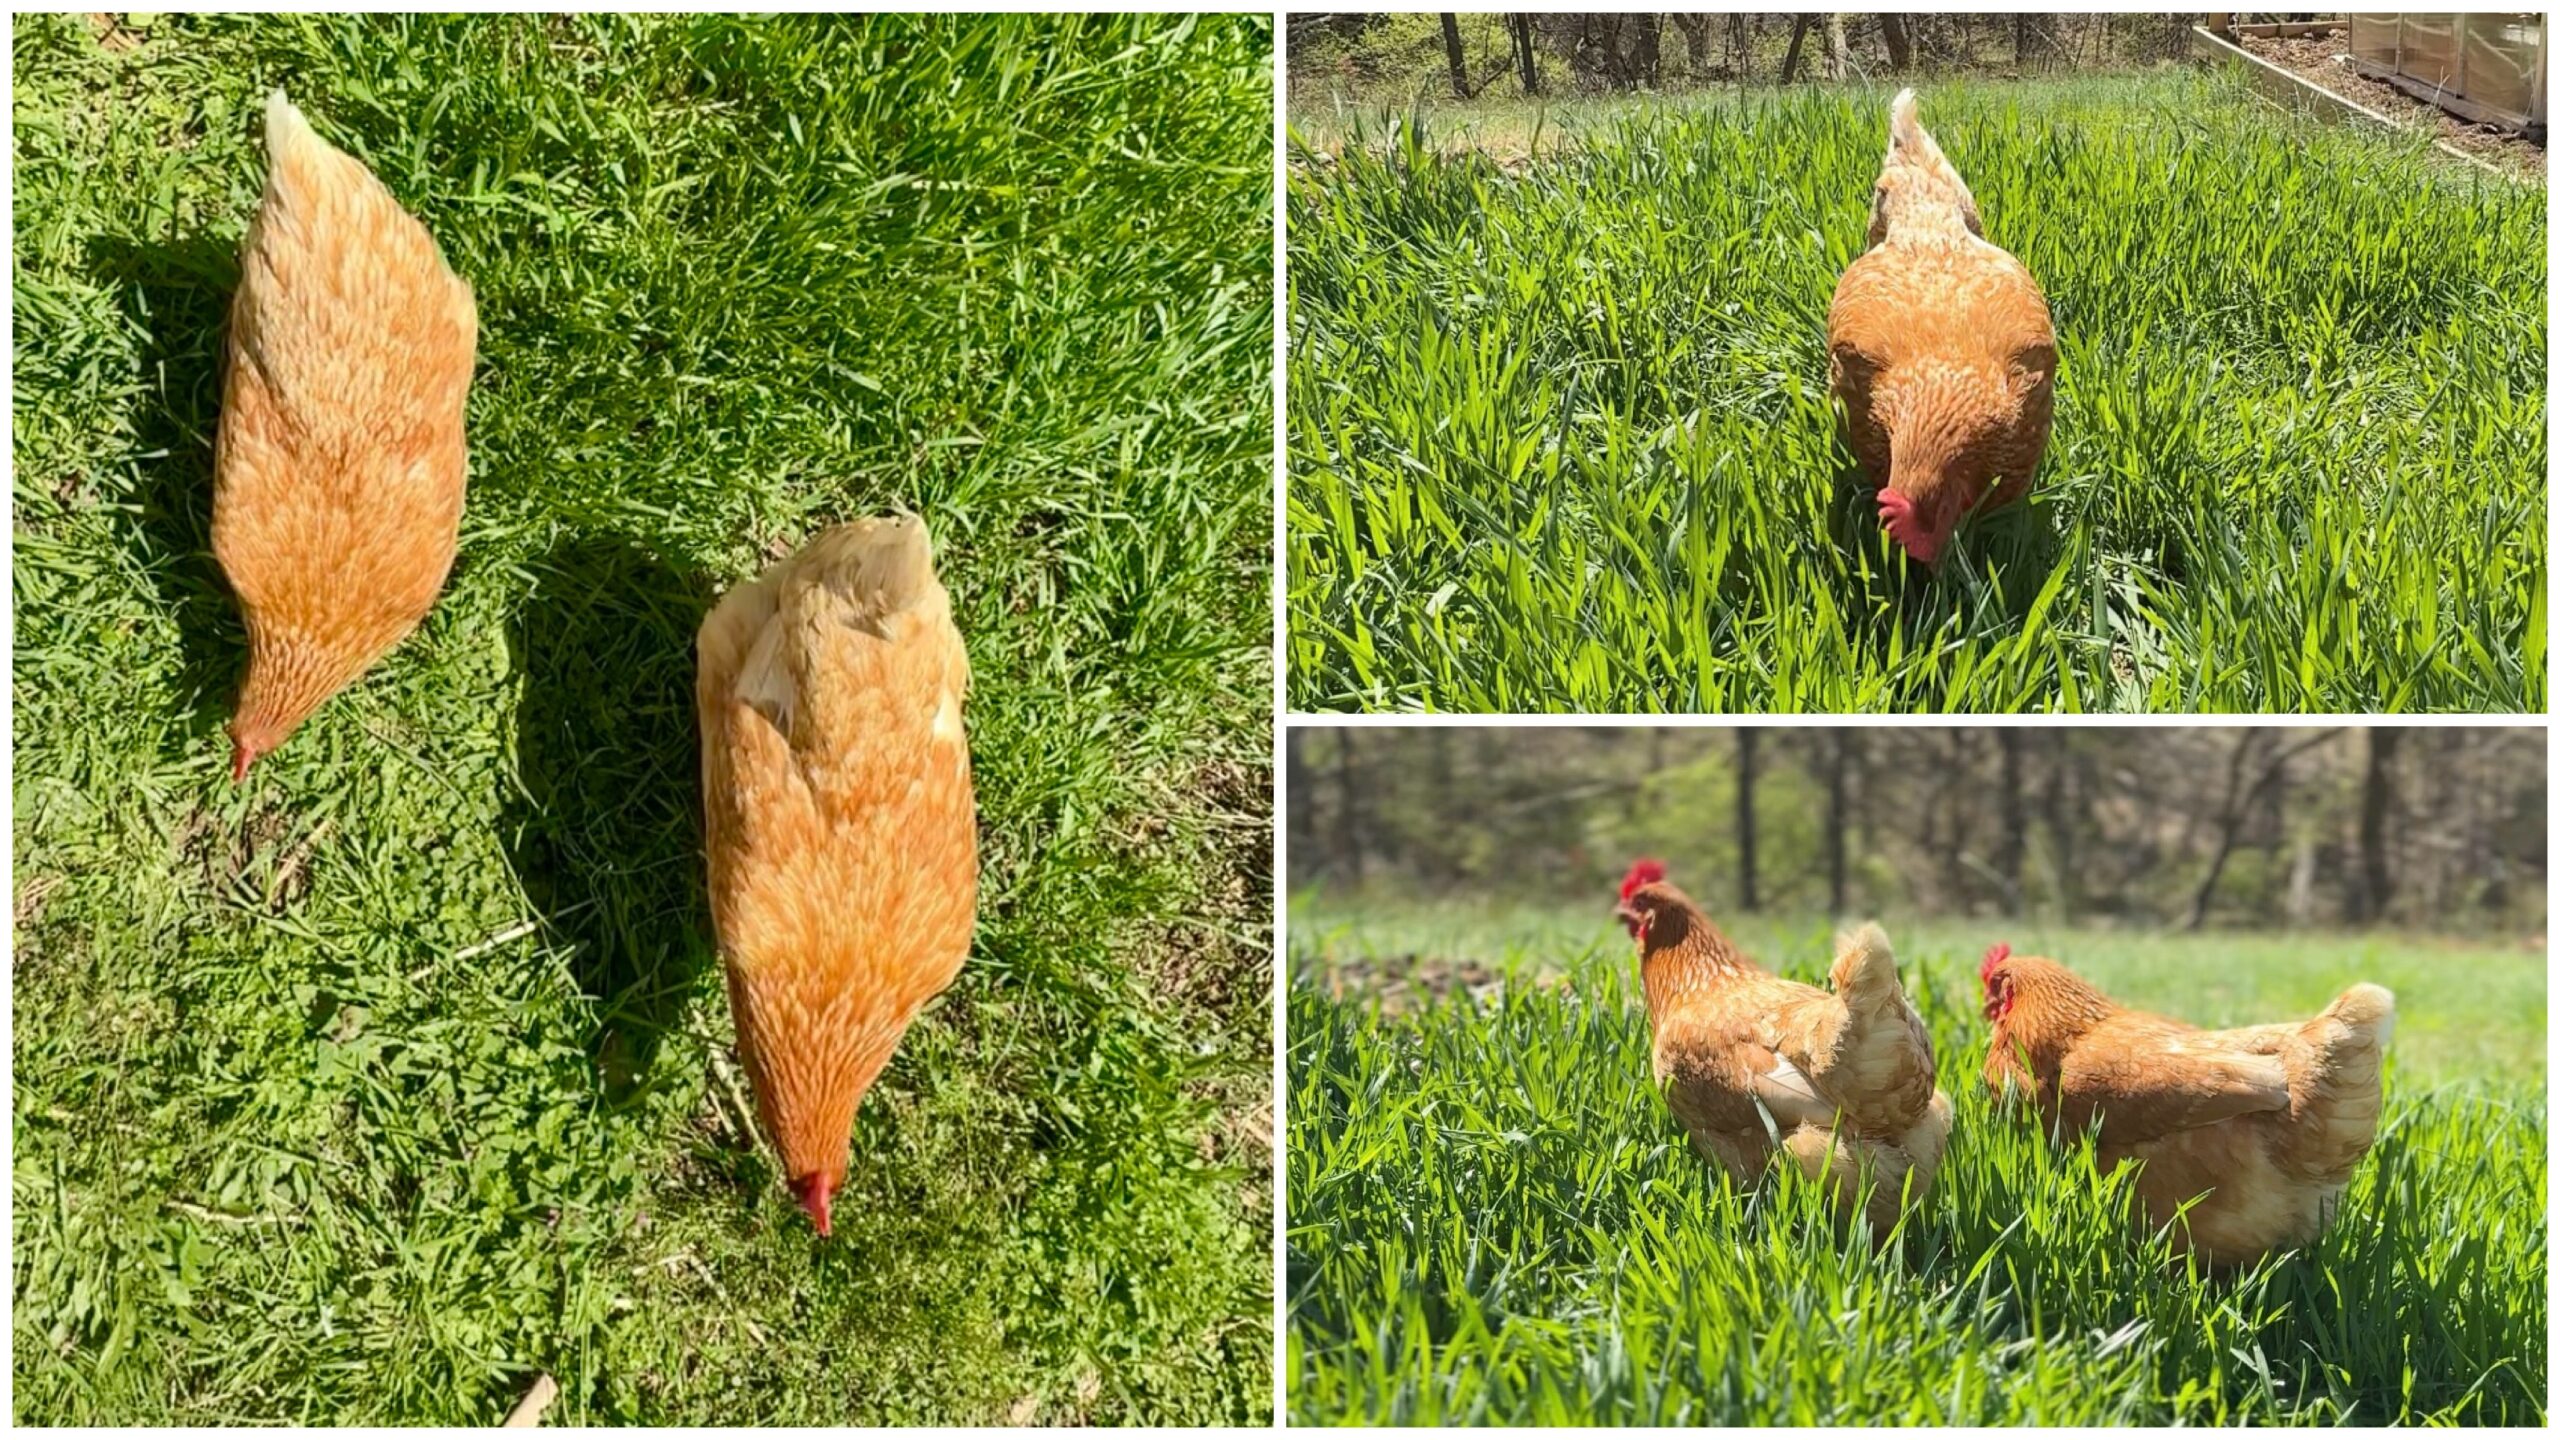
First and foremost chickens love to forage all on their own. It’s their happy place. It’s what makes them chickens at the end of the day, but if it does leave them exposed to predation. Unfortunately they really love to be oblivious when they forage since that’s how they find the best stuff to feed on. It’s full-on focused dedication to protein extraction that comes at a cost.
We do need to give a bit more credit to where credit is due because they do tend to find covered areas to sift through instead of open spaces, but just like us, they get into bad habits especially if there’s some nutrient rich areas to feast on in the open. This is also breed oriented believe it or not and if the flock has a good rooster to lead the way. Since roosters are more prone to find cover and feel the brunt of sacrifice, they bring the hens to more protected areas that actually can produce more opportunity to gorge and make his life a little bit easier to handle. They also teach hens how to jump for forage as well. I know this first hand because they would eat all my blackberries high up on the vine once the routine was established by the rooster. They can figure this out by themselves with a bit of curiosity, but they really excel at it with the help of a rooster.
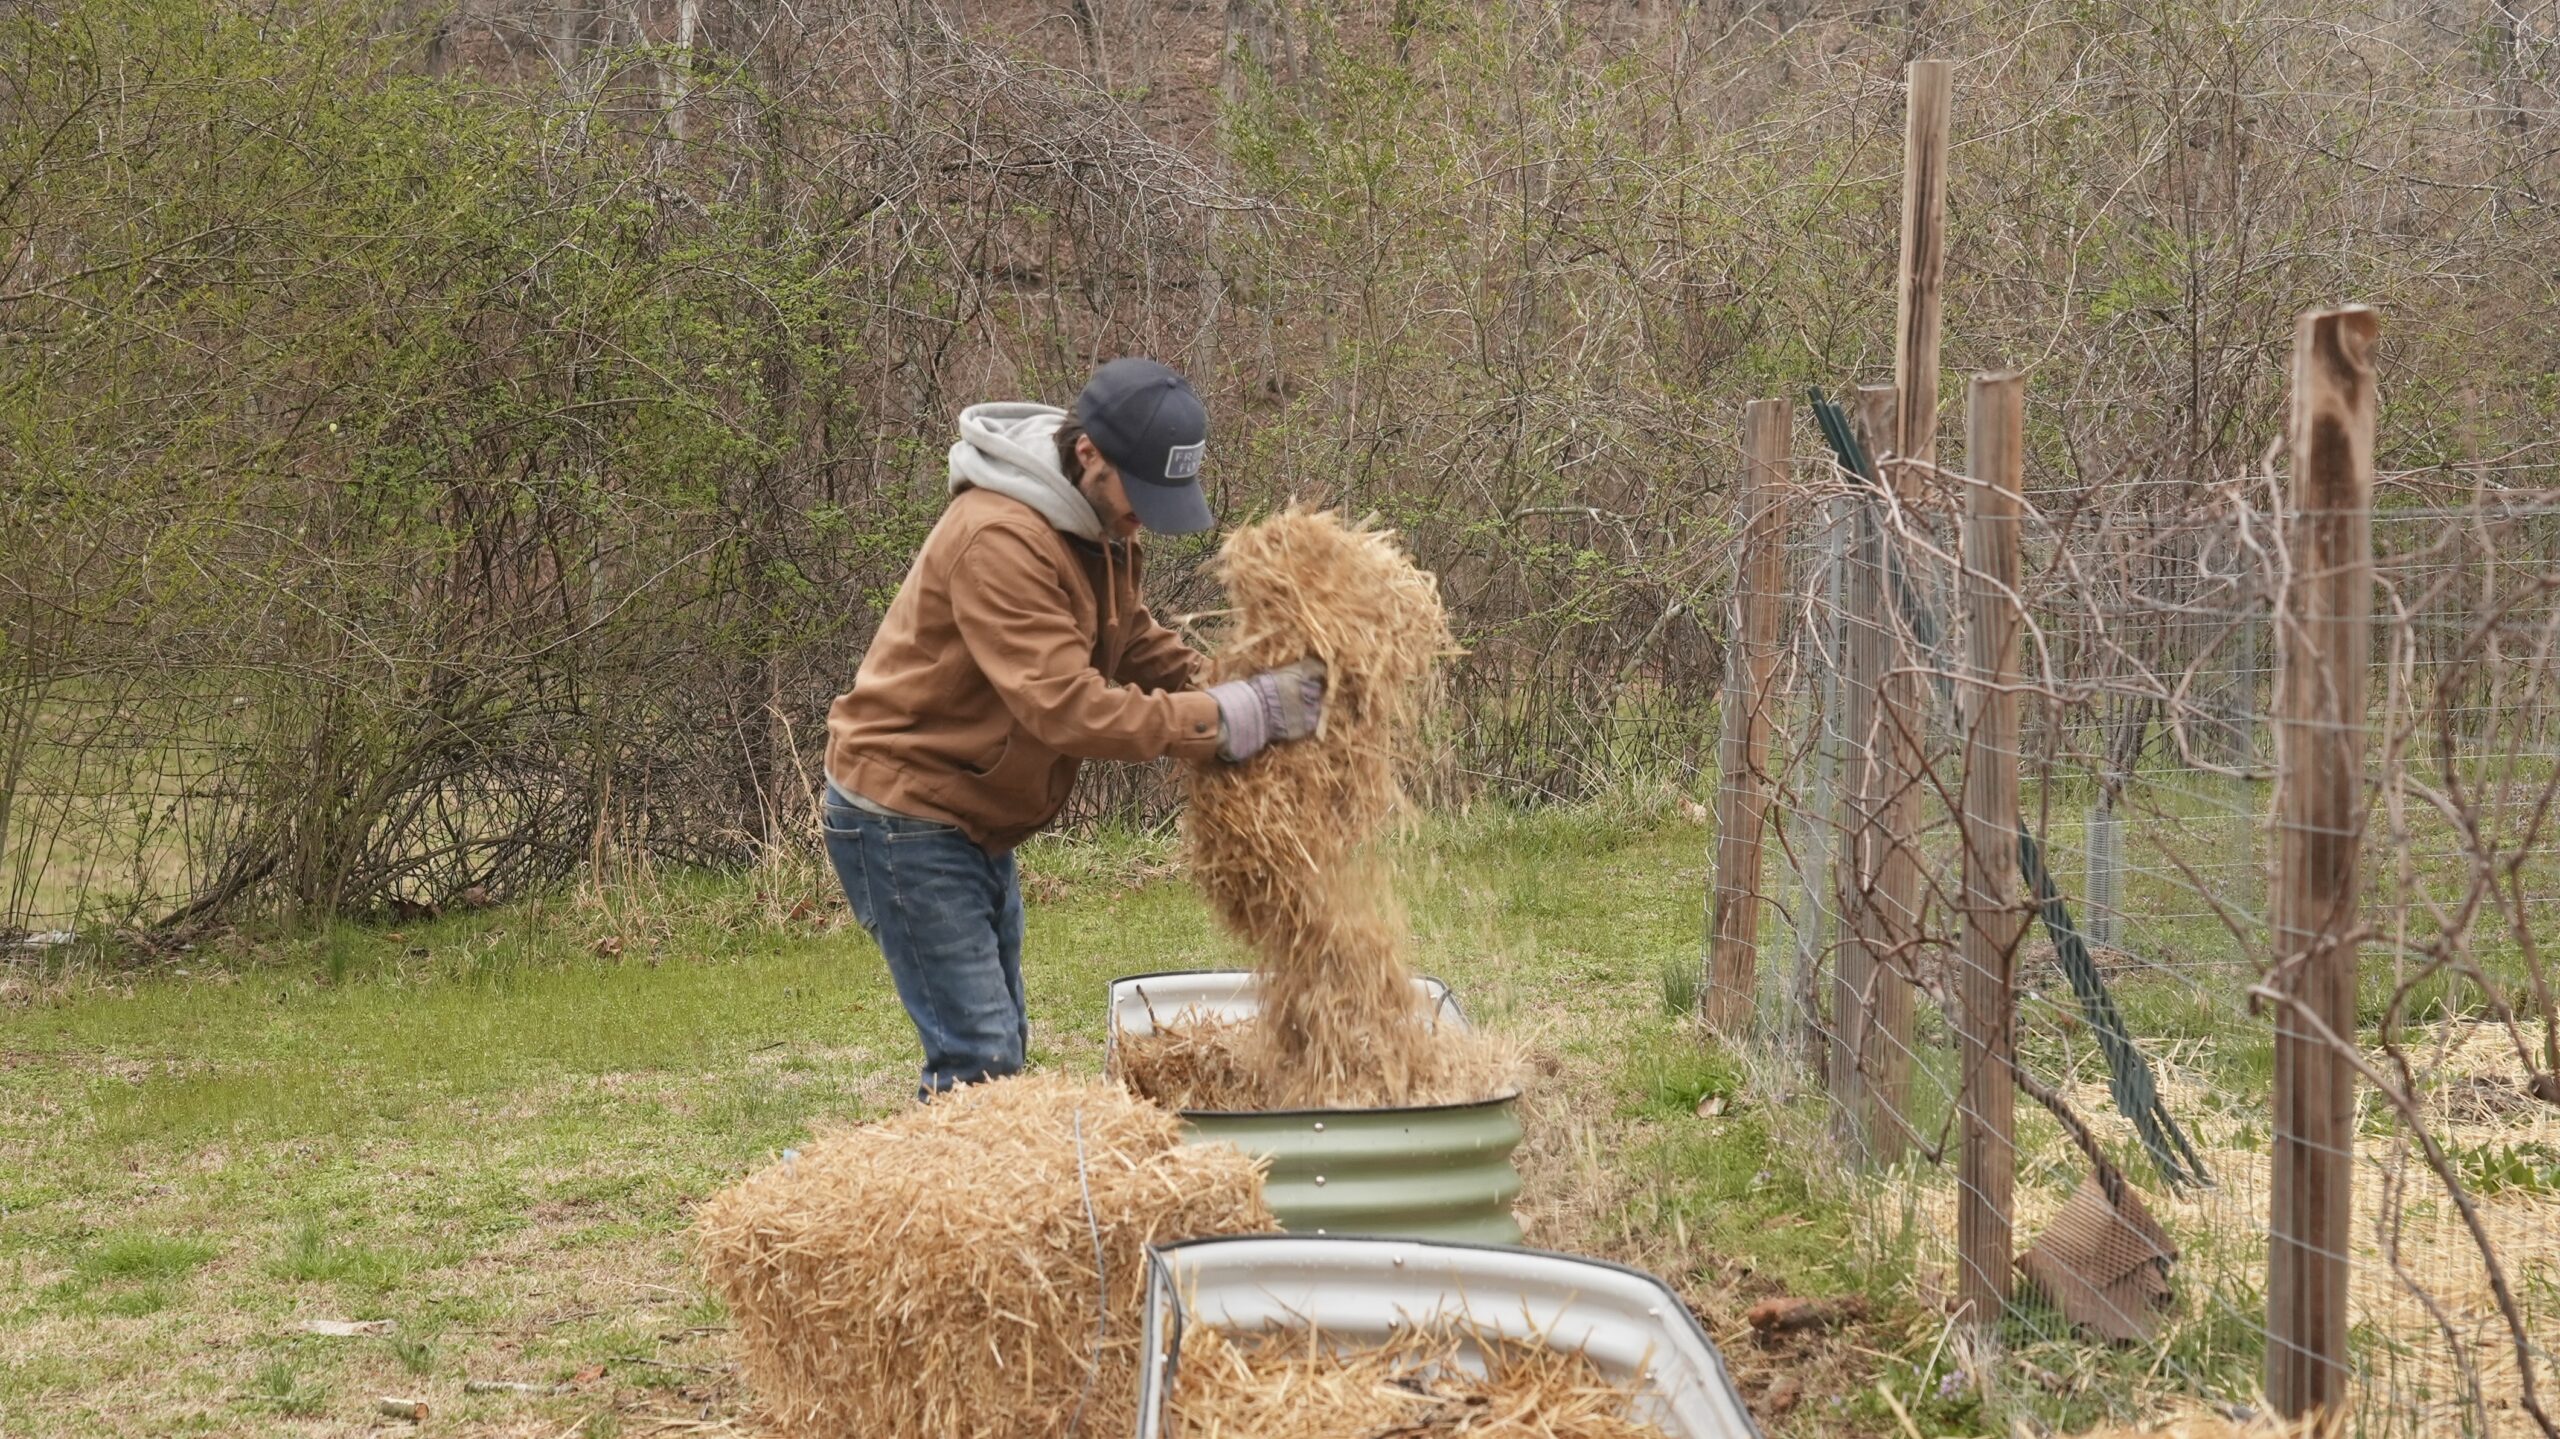
As far as free ranging goes, it’s amazing, but ONLY under supervision with a dedicated hound or yourself. Also when you let the birds be birds they develop a bad habit of nesting at night in the woods as opposed to their hen house, and that causes all sorts of protection and egg collecting issues. With that in mind I wouldn’t recommend solely letting your chickens free range all day and all night unless you really love easter egg hunts on the daily…and dead chickens, but I know the answer to that one personally. We have much less predation out here in Tennessee compared to our Southern California home as far as coyotes go, but there’s always something to get ’em. We lost about 8 chickens so far because we got lazy and doughy eyed on the free range activity with the mirage of minor predation, but the lesson was learned and we have our birds safely kept with a solid routine in place. We let them forage when it’s sunny and have plenty of time to have overwatch, but it only lasts about an hour or two unless I have an outdoor project that takes all day. In that case they usually stay close to the activity and forage nearby which I really enjoy. It’s a bonding moment to say the least.
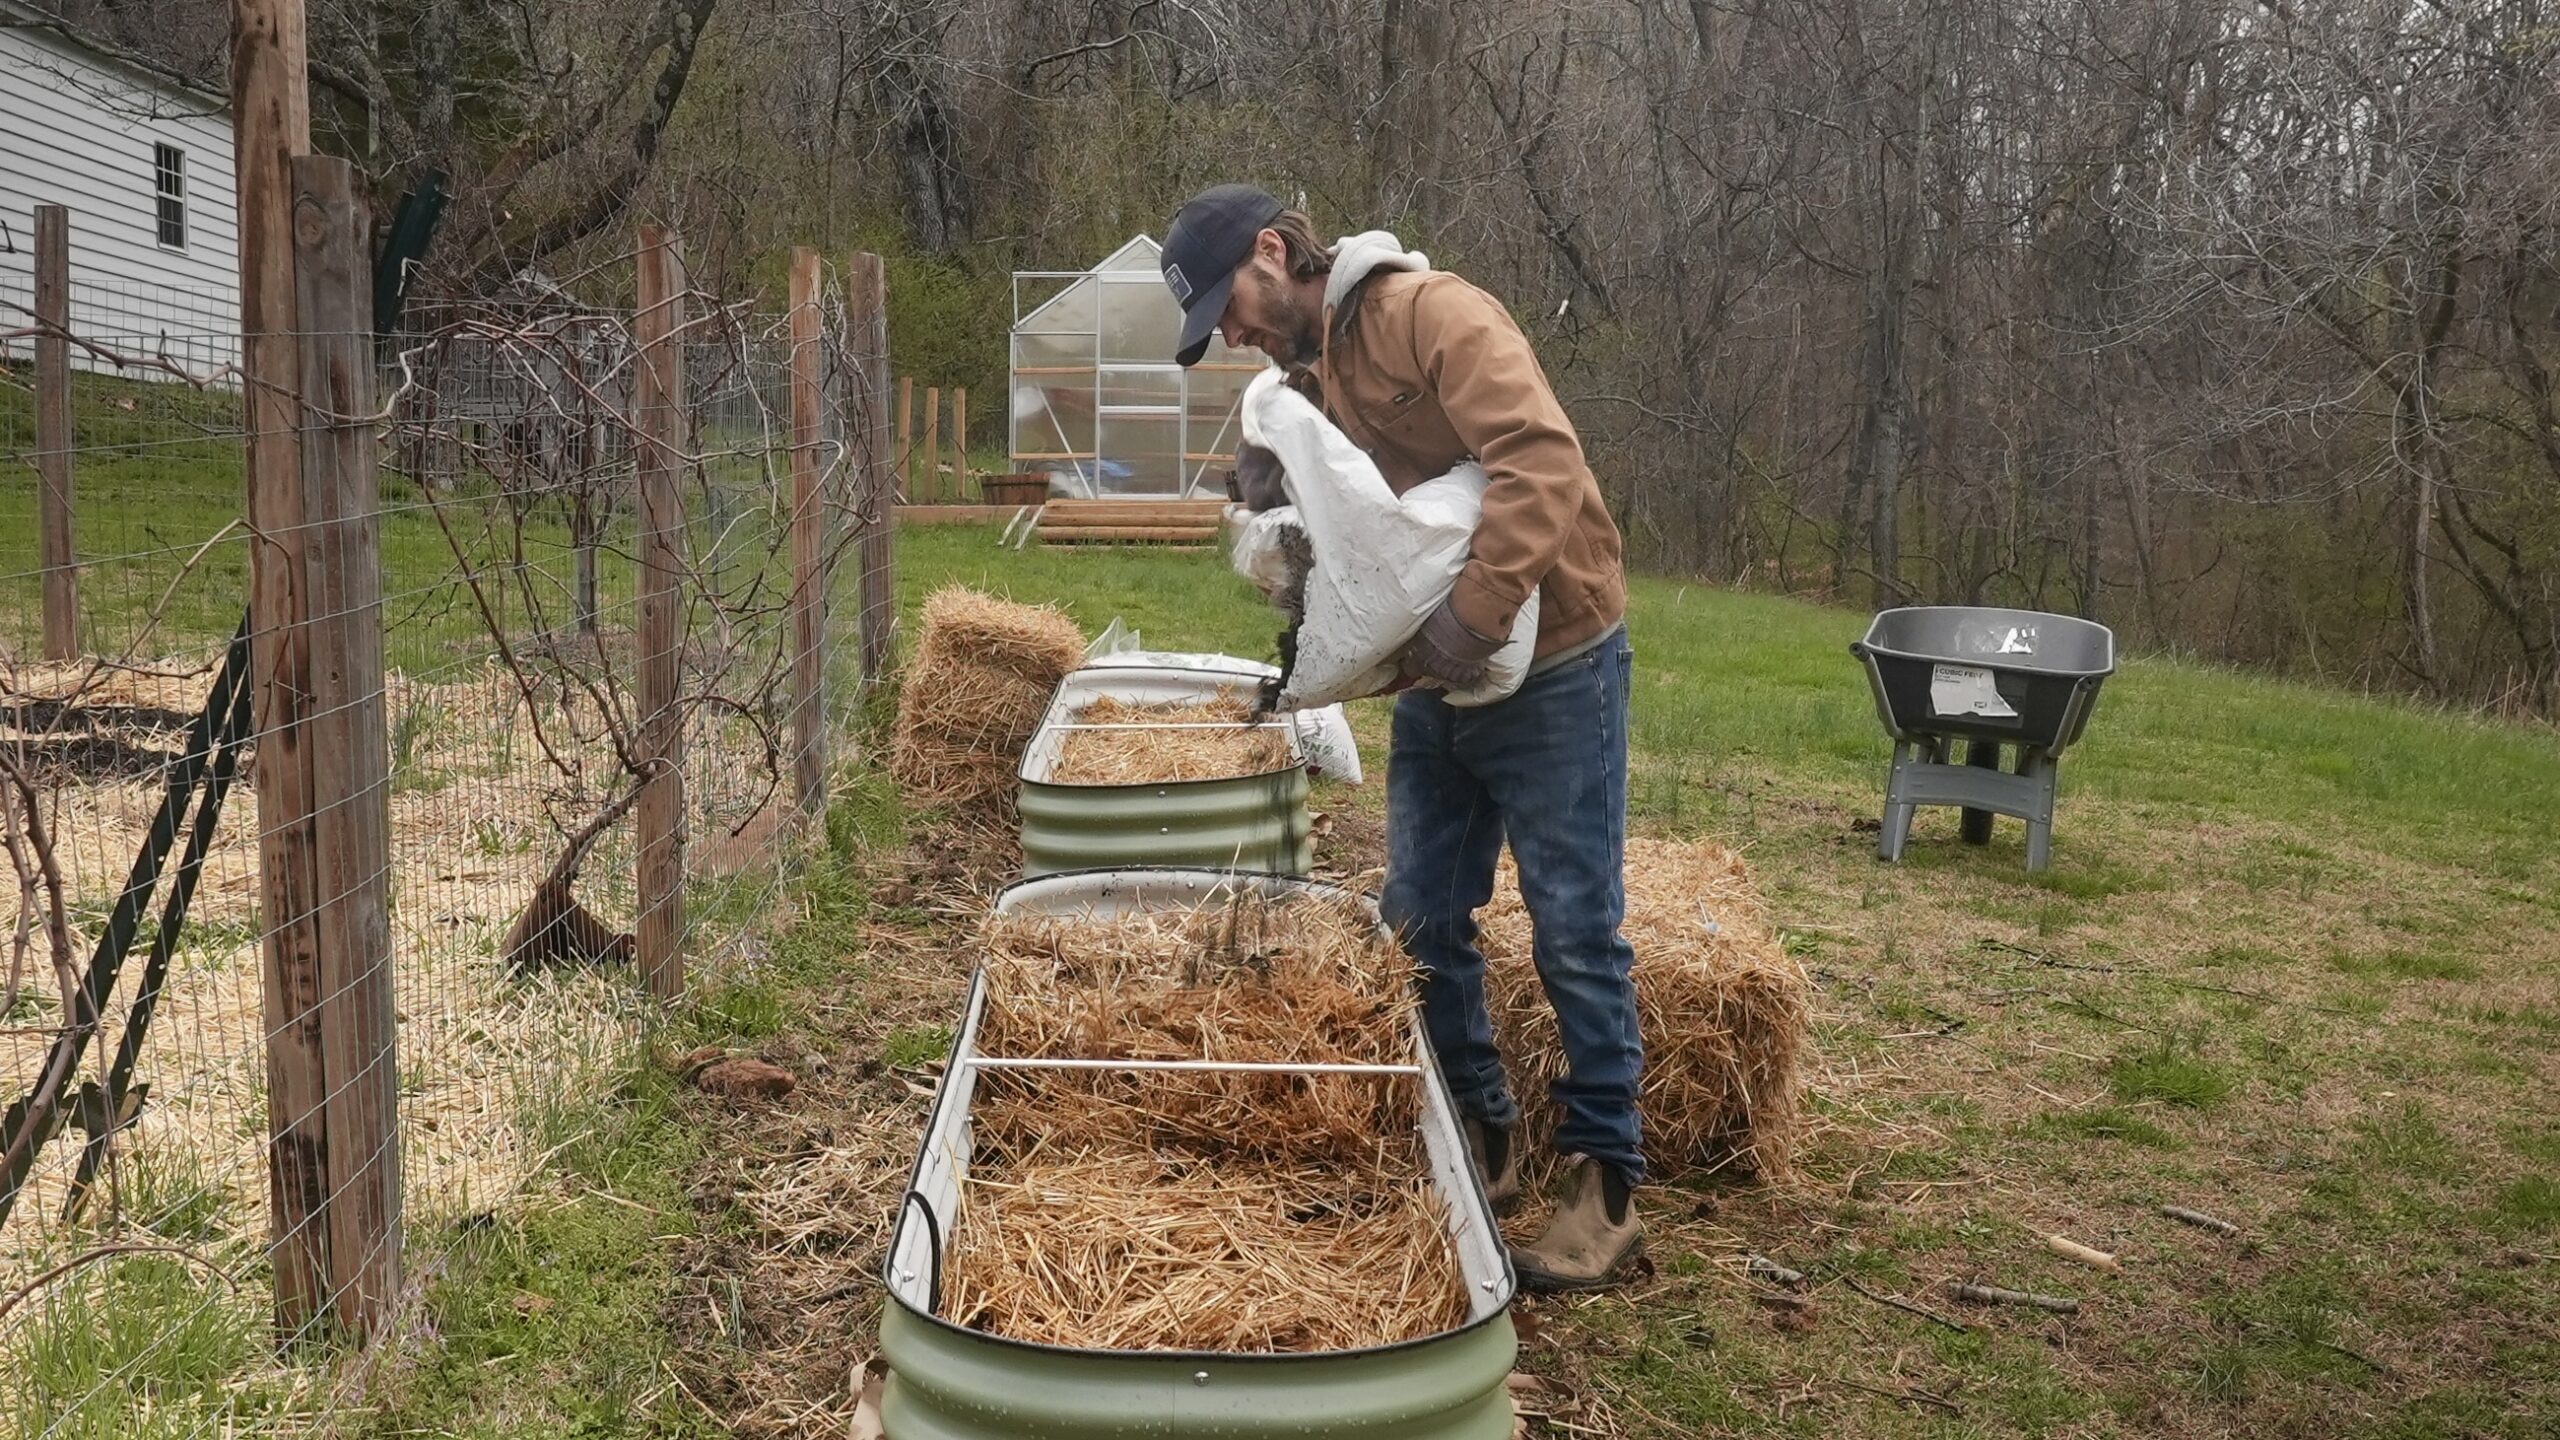
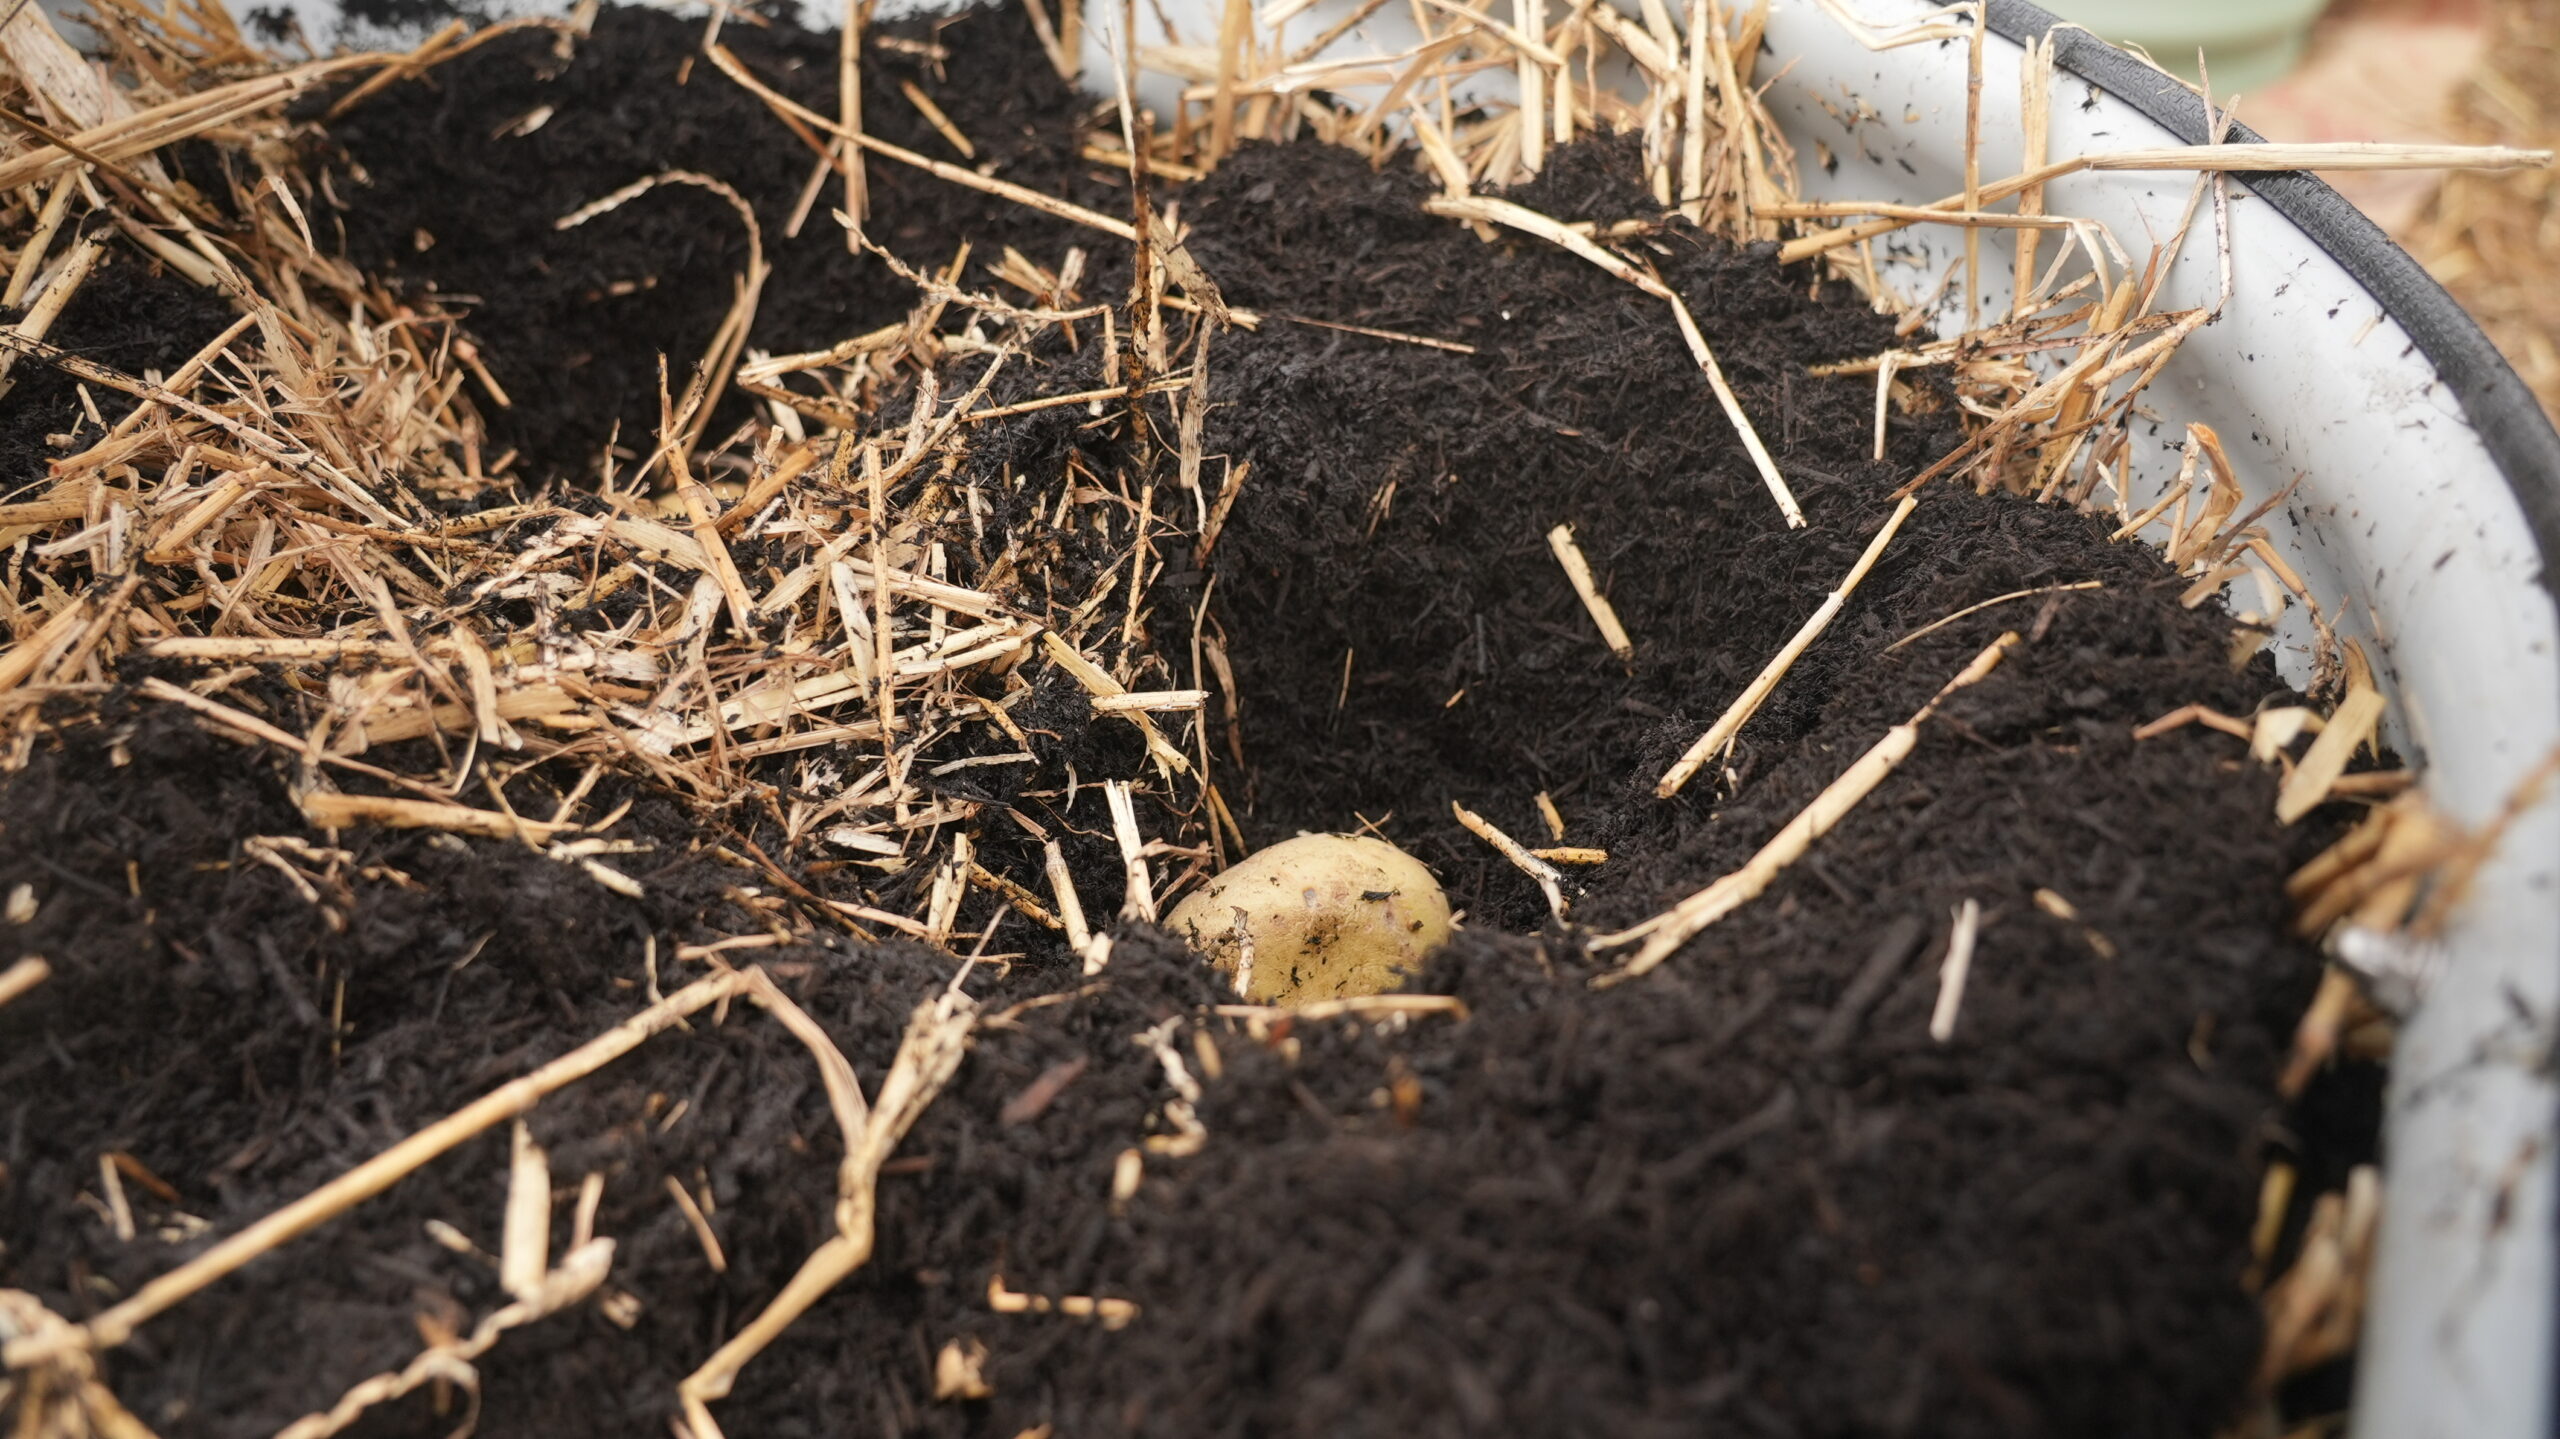
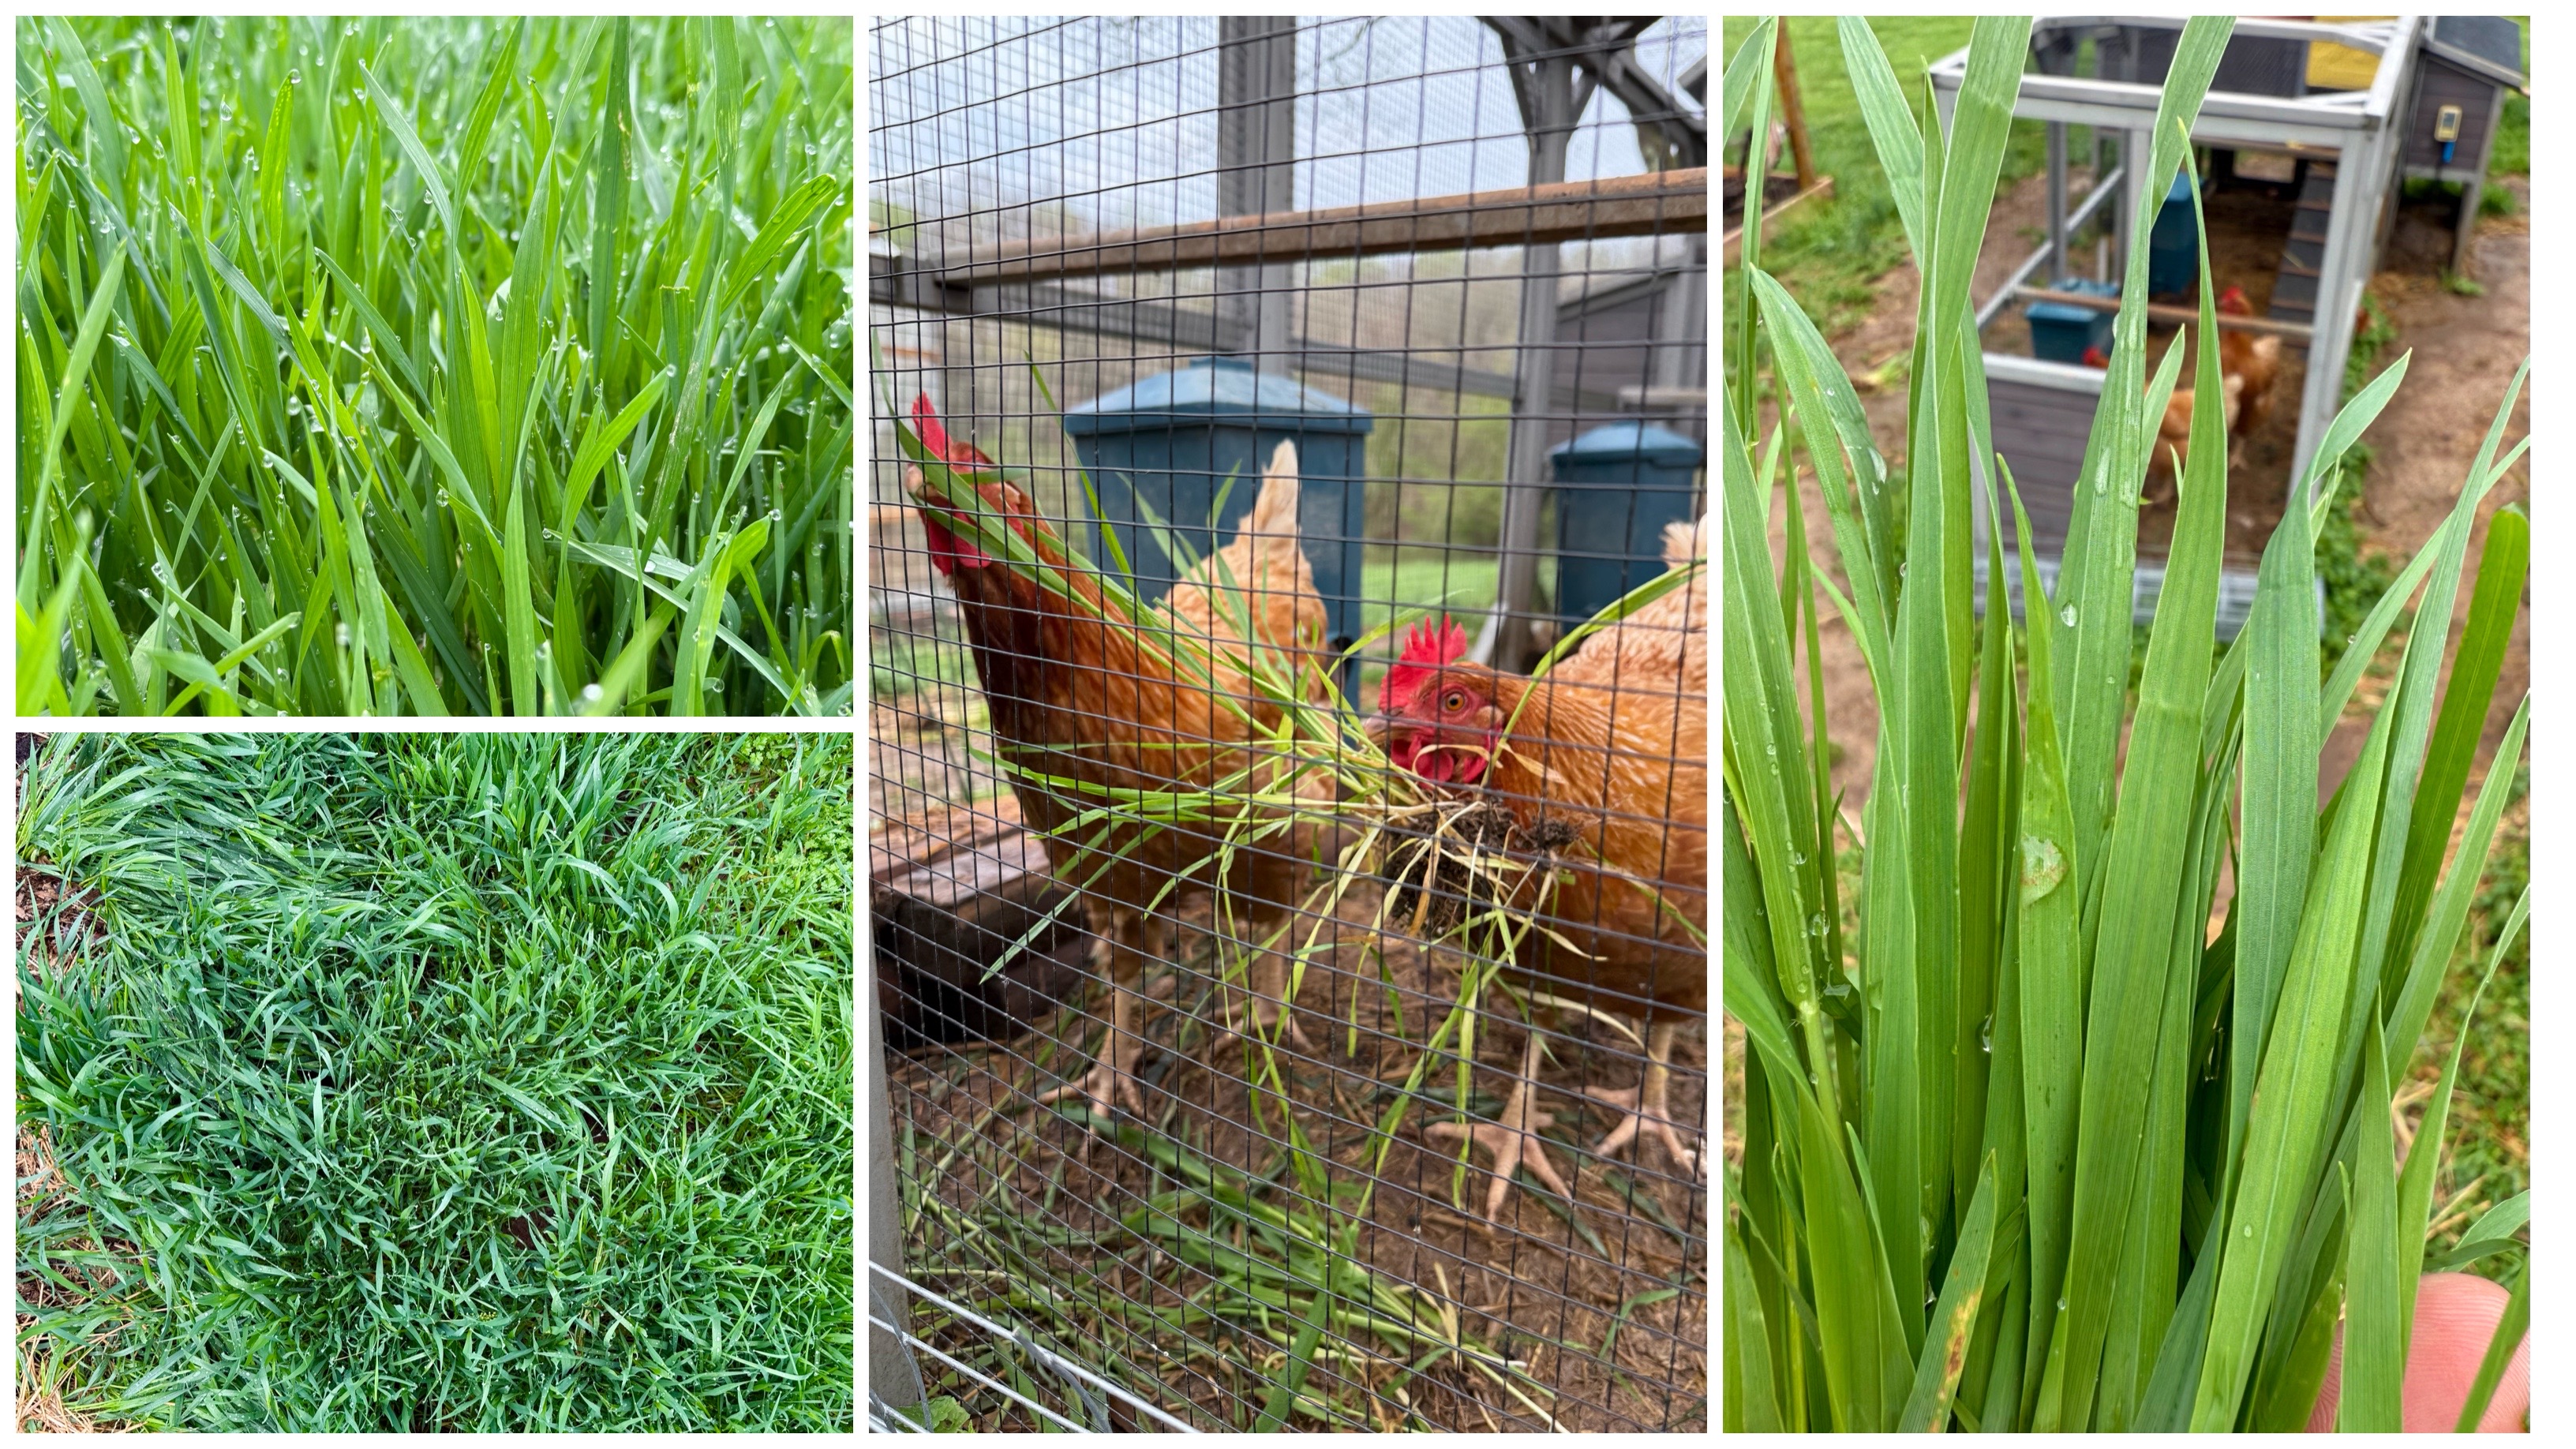
Once you have a good routine in place that allows for protective foraging of bugs and other essential nutrients, the other key items are a cozy laying area that’s relatively stress free, fresh water, and the occasional feeding of their own eggs to help with calcium loss. You can also add supplements to their water for this as well. I think you’re starting to get the picture that quality eggs aren’t just the sum of its color, yolk or shell, but from the overall care taking process. To be direct, dark yolks don’t inherently mean good eggs, but they typically do because it can show that the birds are getting plenty of carotin from grass and bug foraging which is how they develop a dark pigment in the yolk. This post isn’t just about any old dark yolk though, but one that is truly inspiring.
Ok, here it goes. My very own egg hack…trick…secret…whatever you want to call it. A 20:1 mix of a basic protein rich chicken feed with carotin rich Korean Chili flakes. Yep, that’s it, along with everything else I mentioned before, but the red pepper really sets it off. You can use a variety of red pepper flakes, but I find that Taekyung sun-dried peppers are the best bang for your buck, but I’m always looking for other ways to add a good source of carotin to their diet. Here’s the catch, it does almost double the price per egg, and this is the reason, at least one of them, for dark egg yolks being so darned expensive at the farmers market…and if you want them to be organic, it’ll be double that again, but that’s for another post.
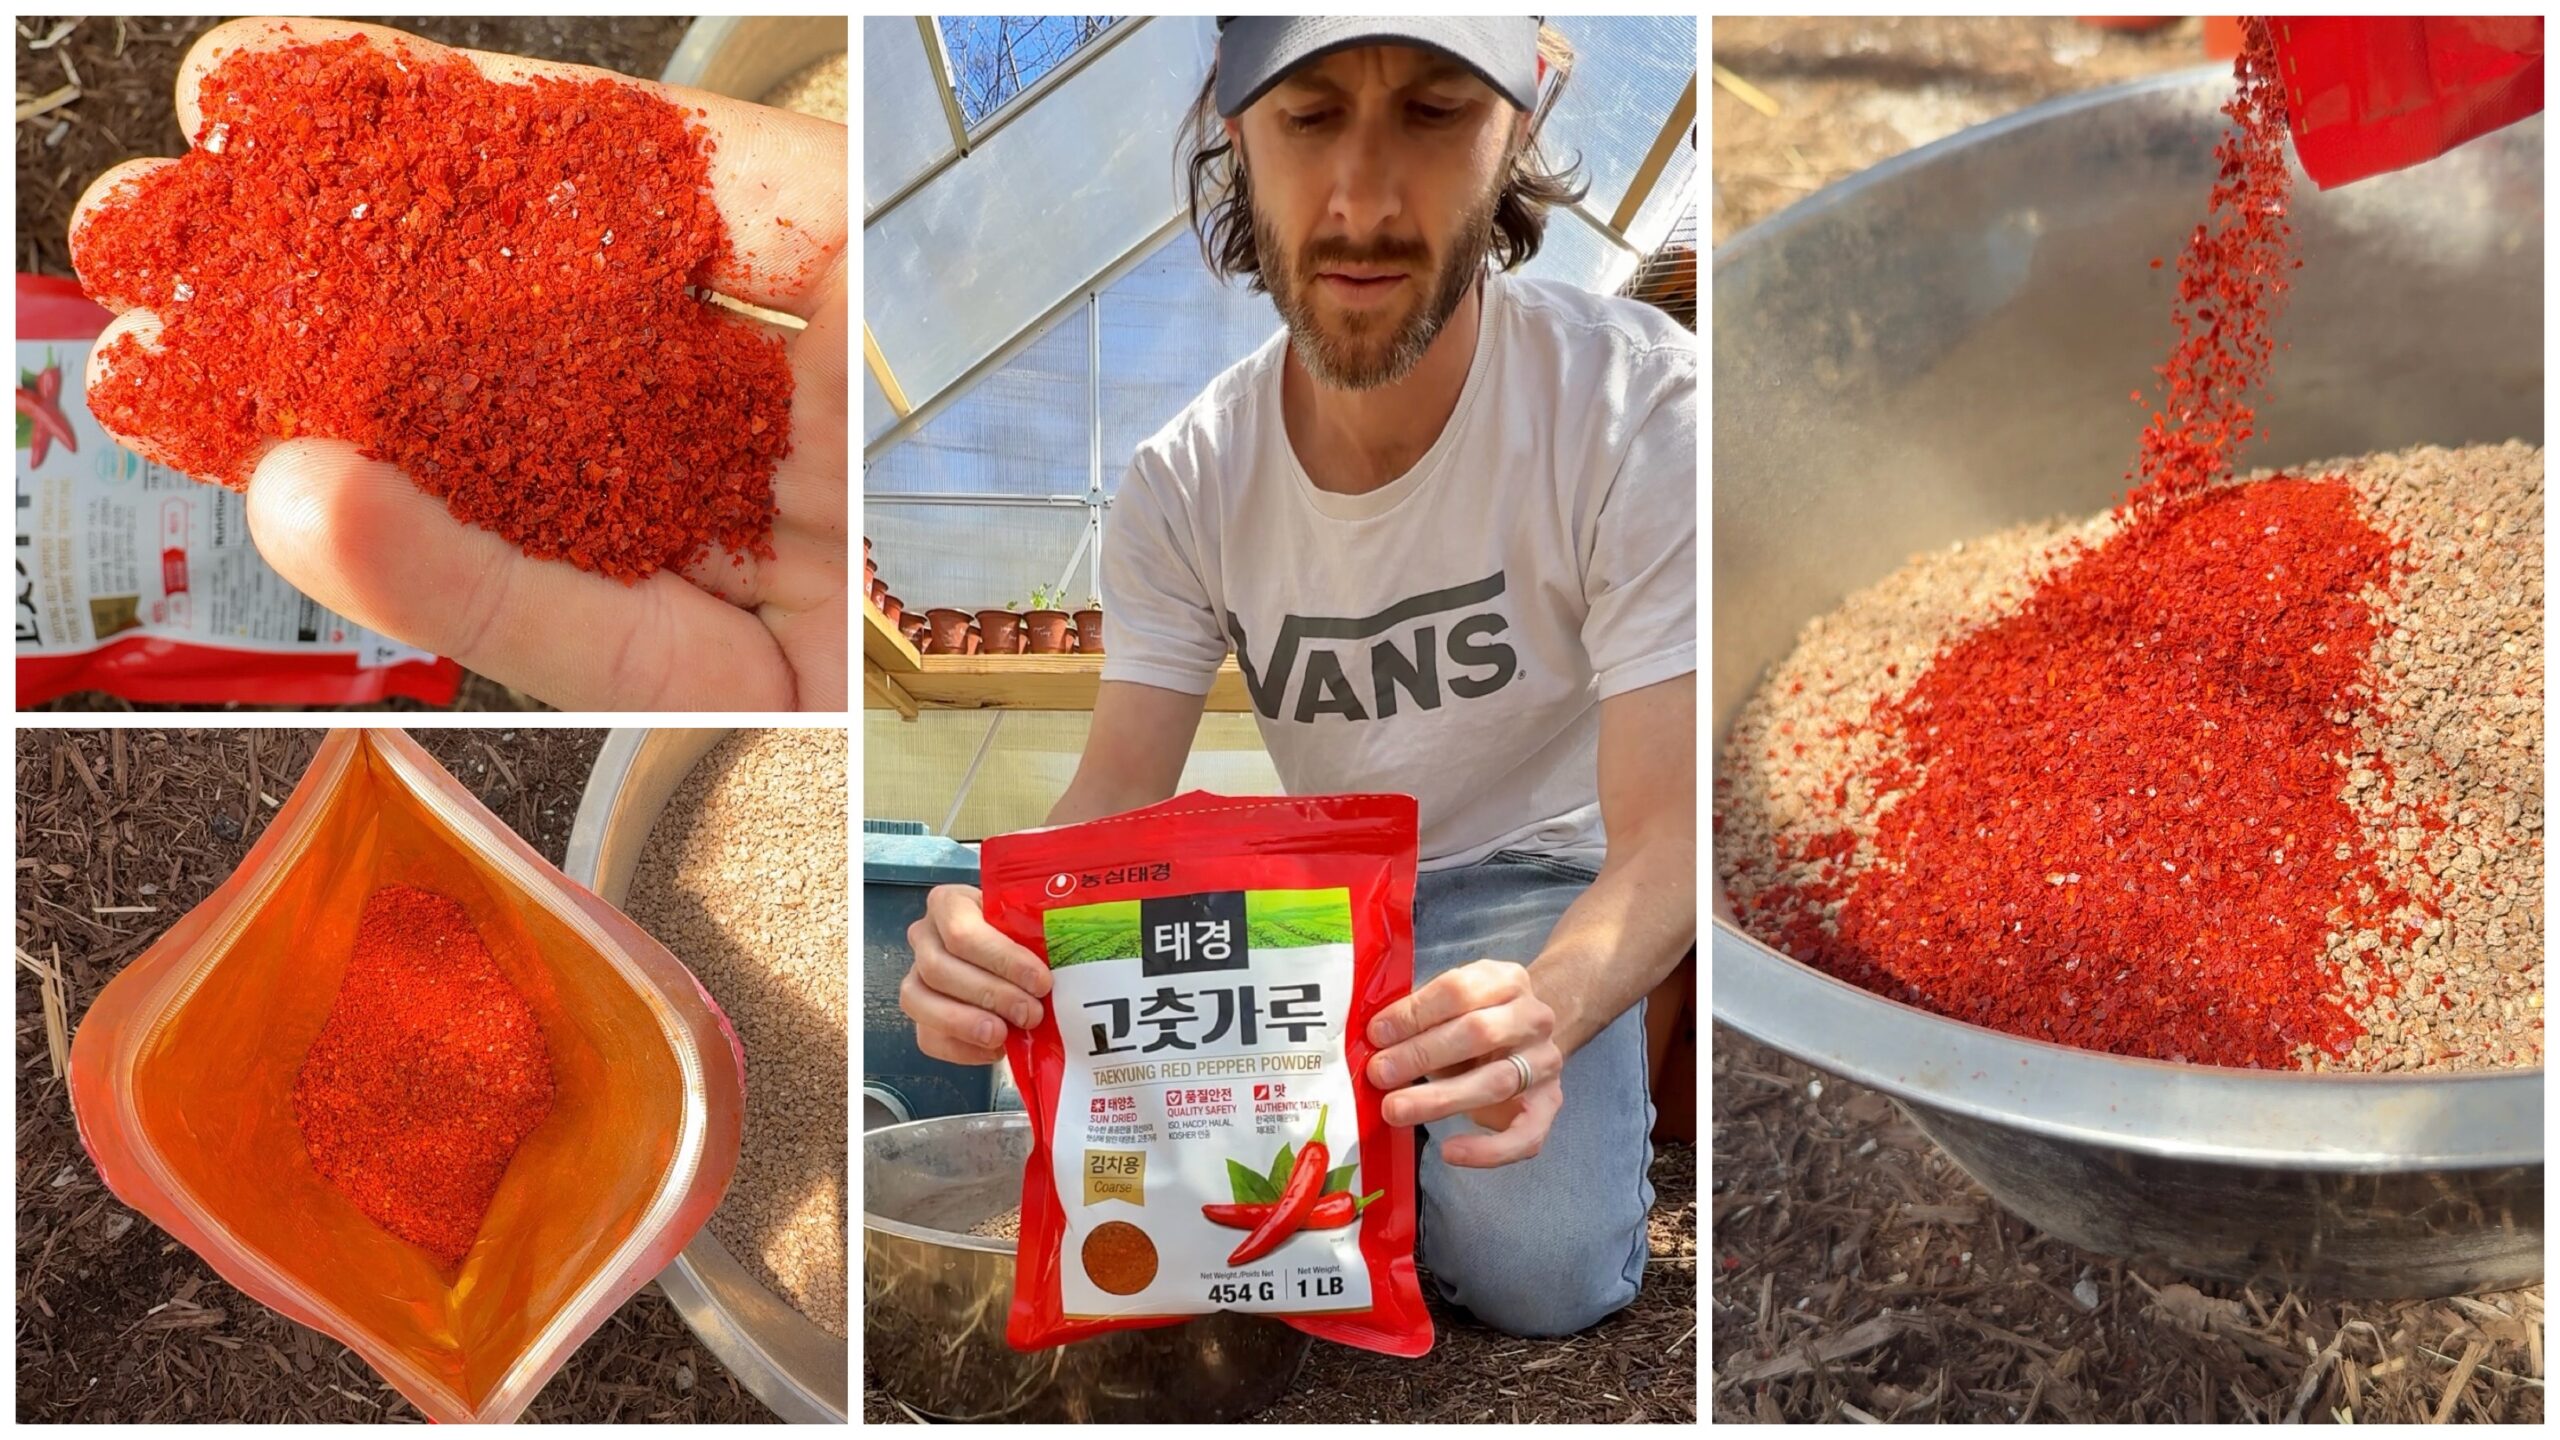
Once you start incorporating this into your chicken feed, the process takes about 2 weeks to fully penetrate the entirety of the yolk, but you may see results in 10 days or less. I wouldn’t recommend anything too spicy as far as pepper varieties go because it can cause digestive issues with the chicken if it’s outrageously spicy. Chicken don’t have receptors for capsaicin, so don’t worry about them needing a glass of milk to wash it down, but they can have issues on the other end if you’re too greedy with the feed mix. There’s a health benefit to feeding your chicken this peppery blend of feed since it does help protect against parasites which for me is a good piece of mind.
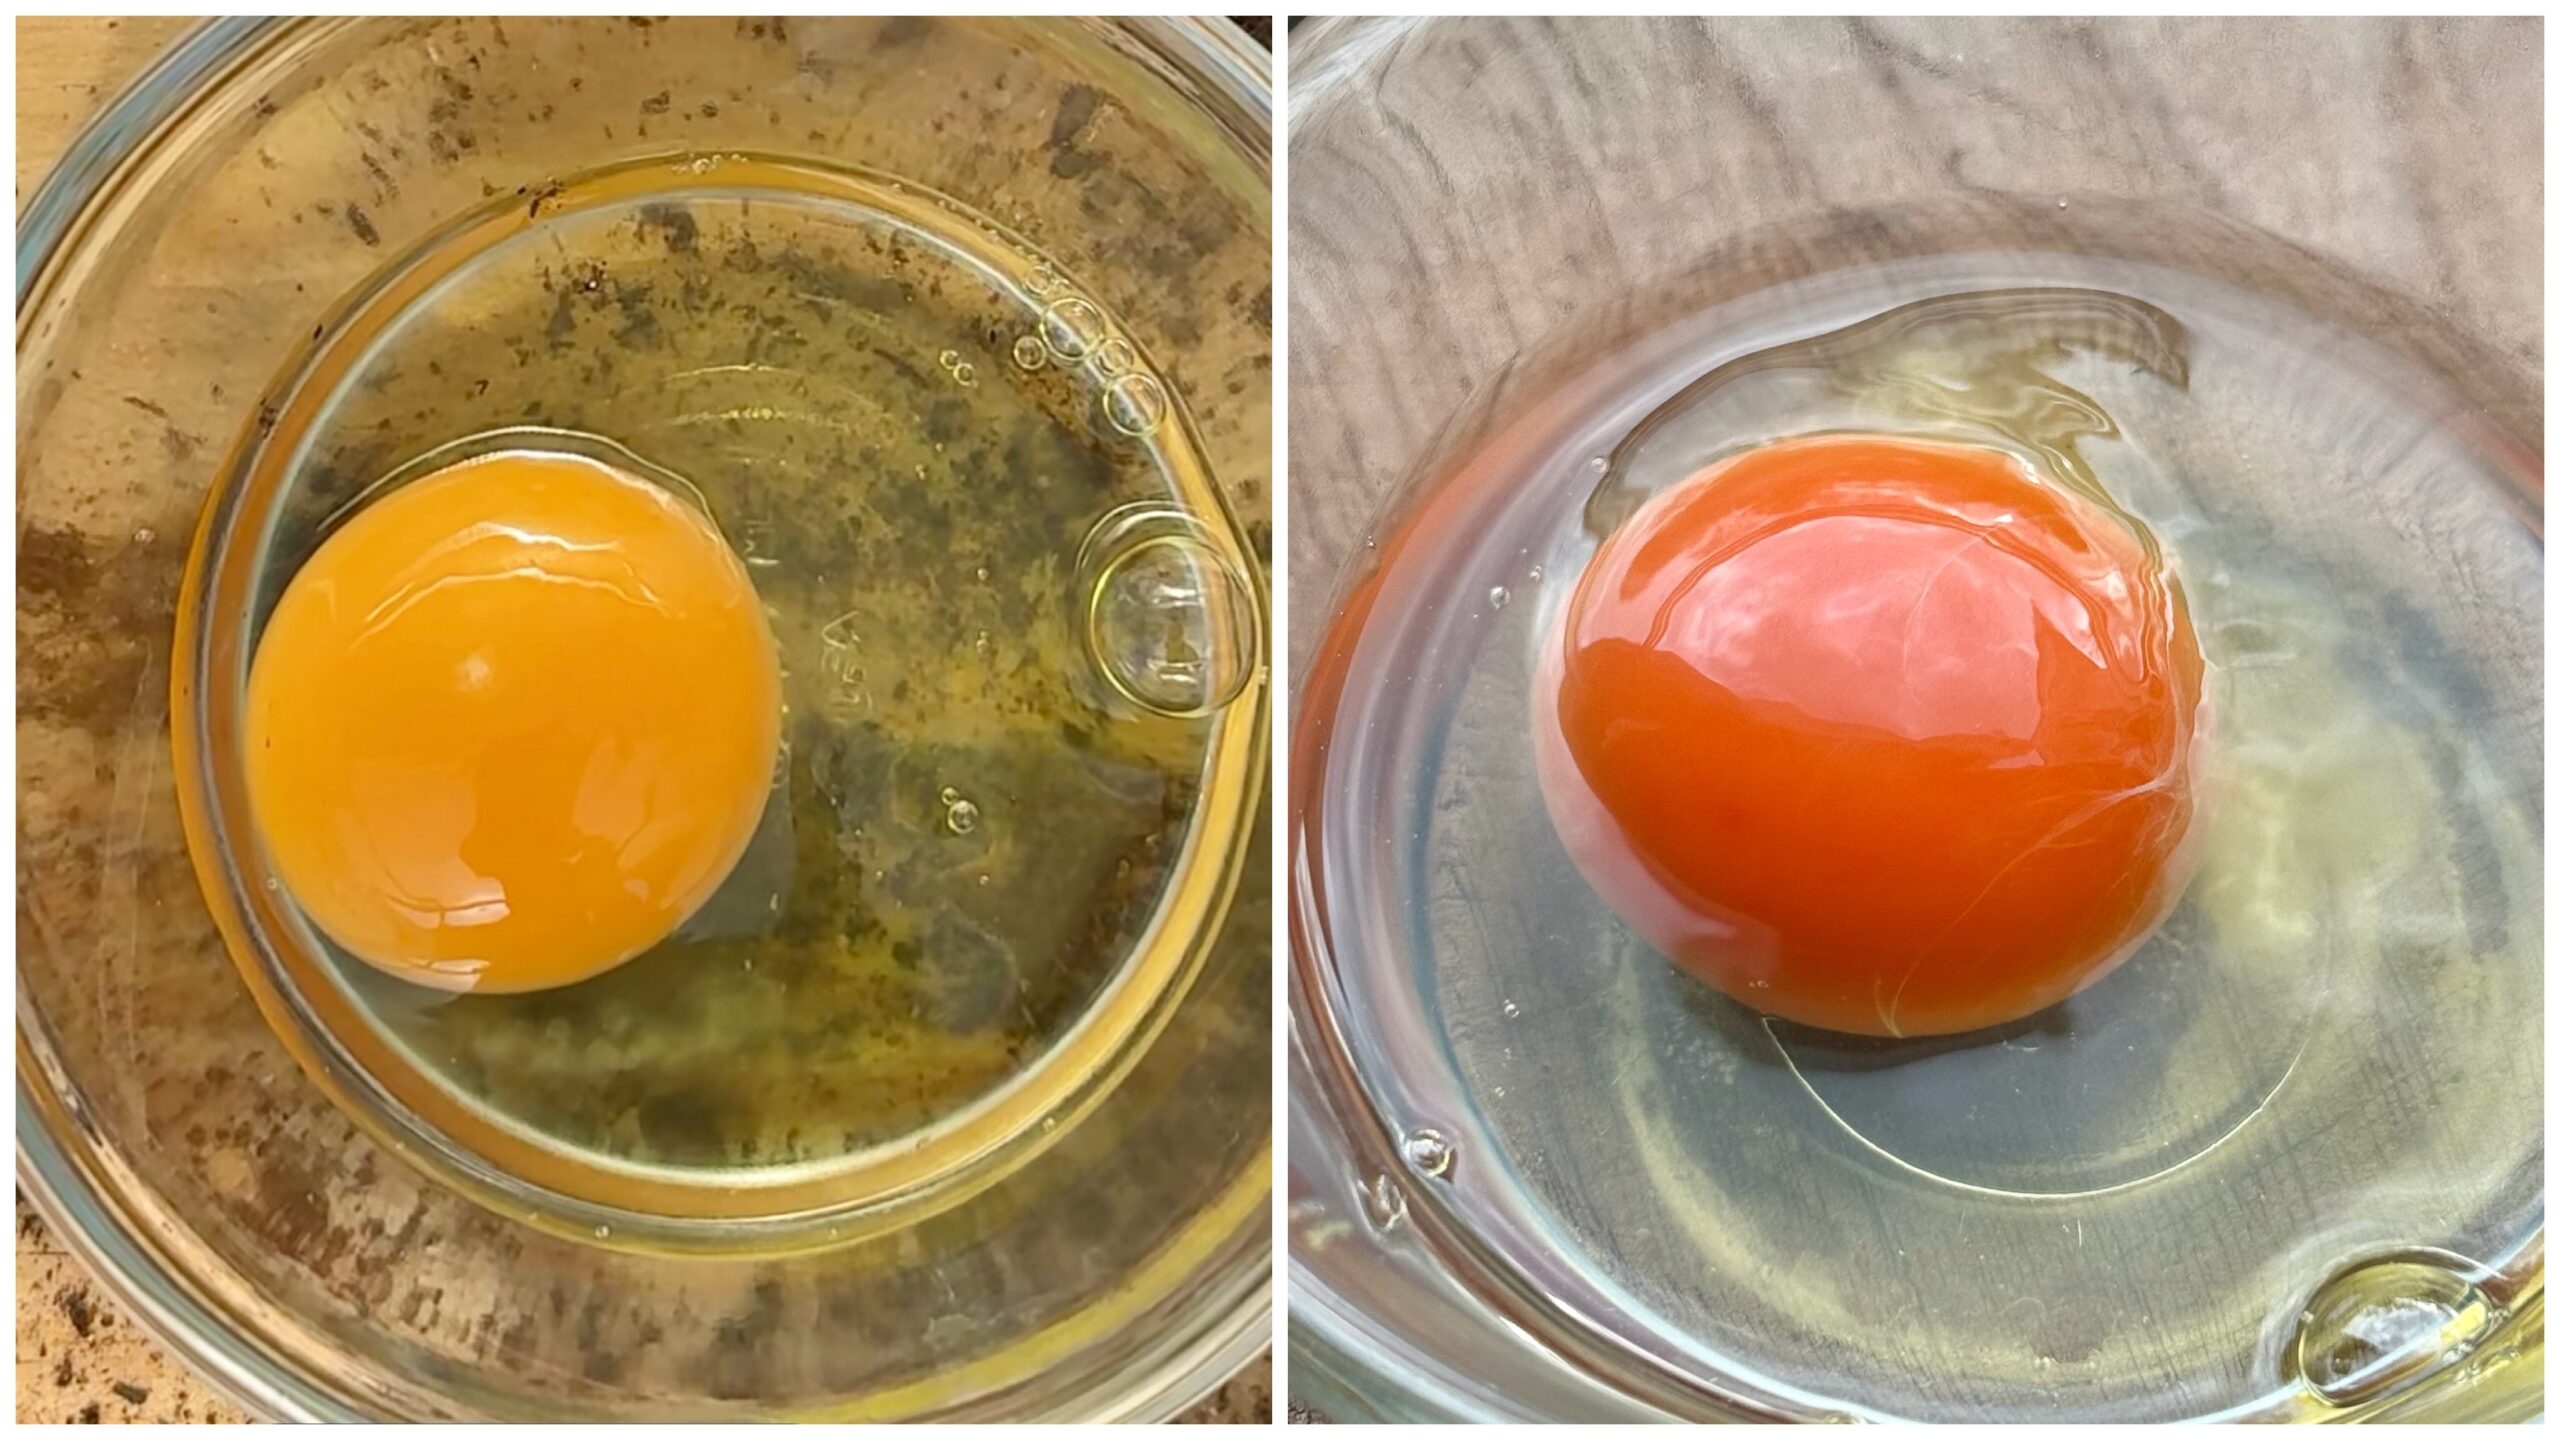
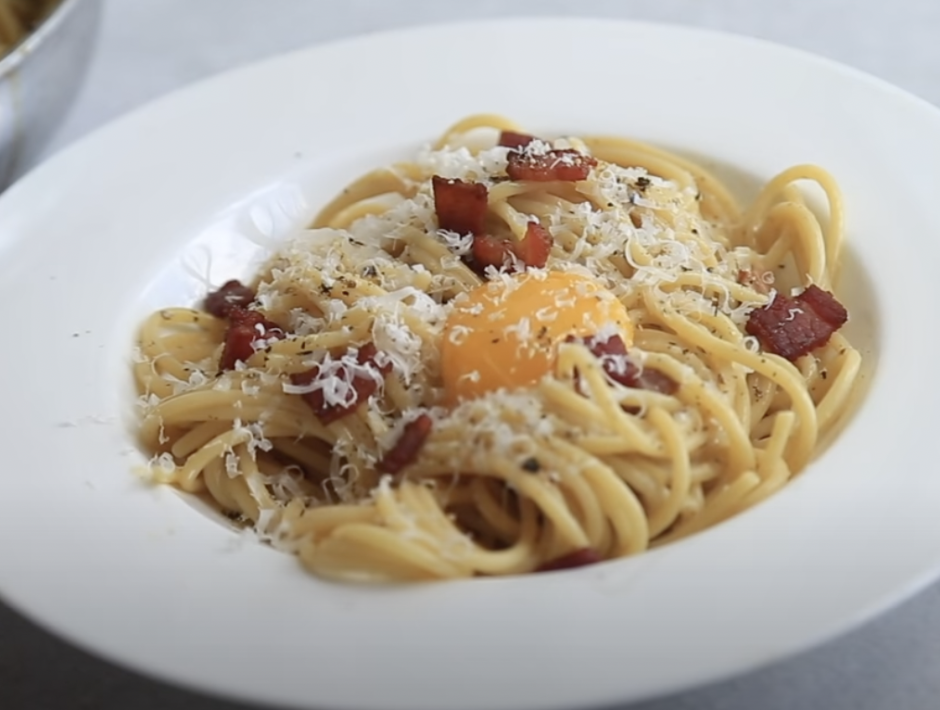
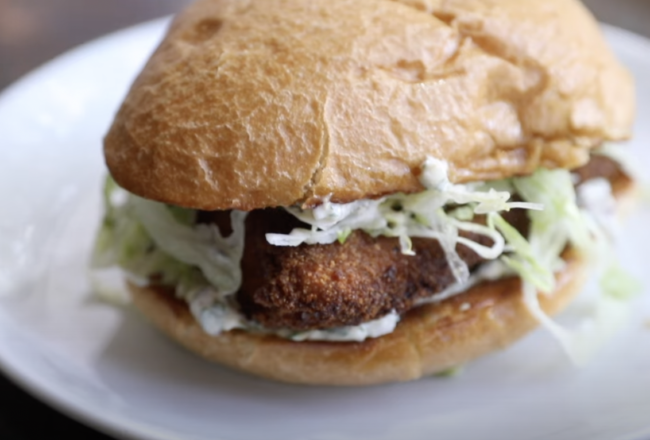
The egg on the left is actually a very rich yellow and is a wonderful backyard/pasture egg, but there’s a night and day difference between that and the deep rich red yolk on the right. Just for price reference, a dozen of standard posture eggs is going for around $5-$7 while dark yolk eggs will be around $8-$10 for a dozen. This changes as price fluctuates, but as of today this is what the market is demanding with a few exceptions here and there.

So, here’s the ultimate question. Is it worth it? Like most things in life, that all depends on you. For me, yes it absolutely makes a huge difference. Let’s face it, we all eat with our eyes, and to give you an example, my kids look at these eggs like they’re straight from heaven which makes breakfast time a cinch. We want them poached, fried, scrambled, in custards, ice creams, sauces, and beyond. They quite literally turn everything they touch into a rich and sultry golden experience, and that my friends is priceless. As for the cost, they cost me about 16 cents an egg to produce minus my “labor”. If I wanted to cut back on costs, they would be around 9-10 cents an egg to produce, and that is an absolute steal no matter where our egg-economy is at. For now, it’s like making gold in my backyard and I’m thankful for it. Set-up costs and maintenance costs will be for another post, but it’s nowhere near the financial heartache some of these chicken haters talk about… and there’s plenty of them.
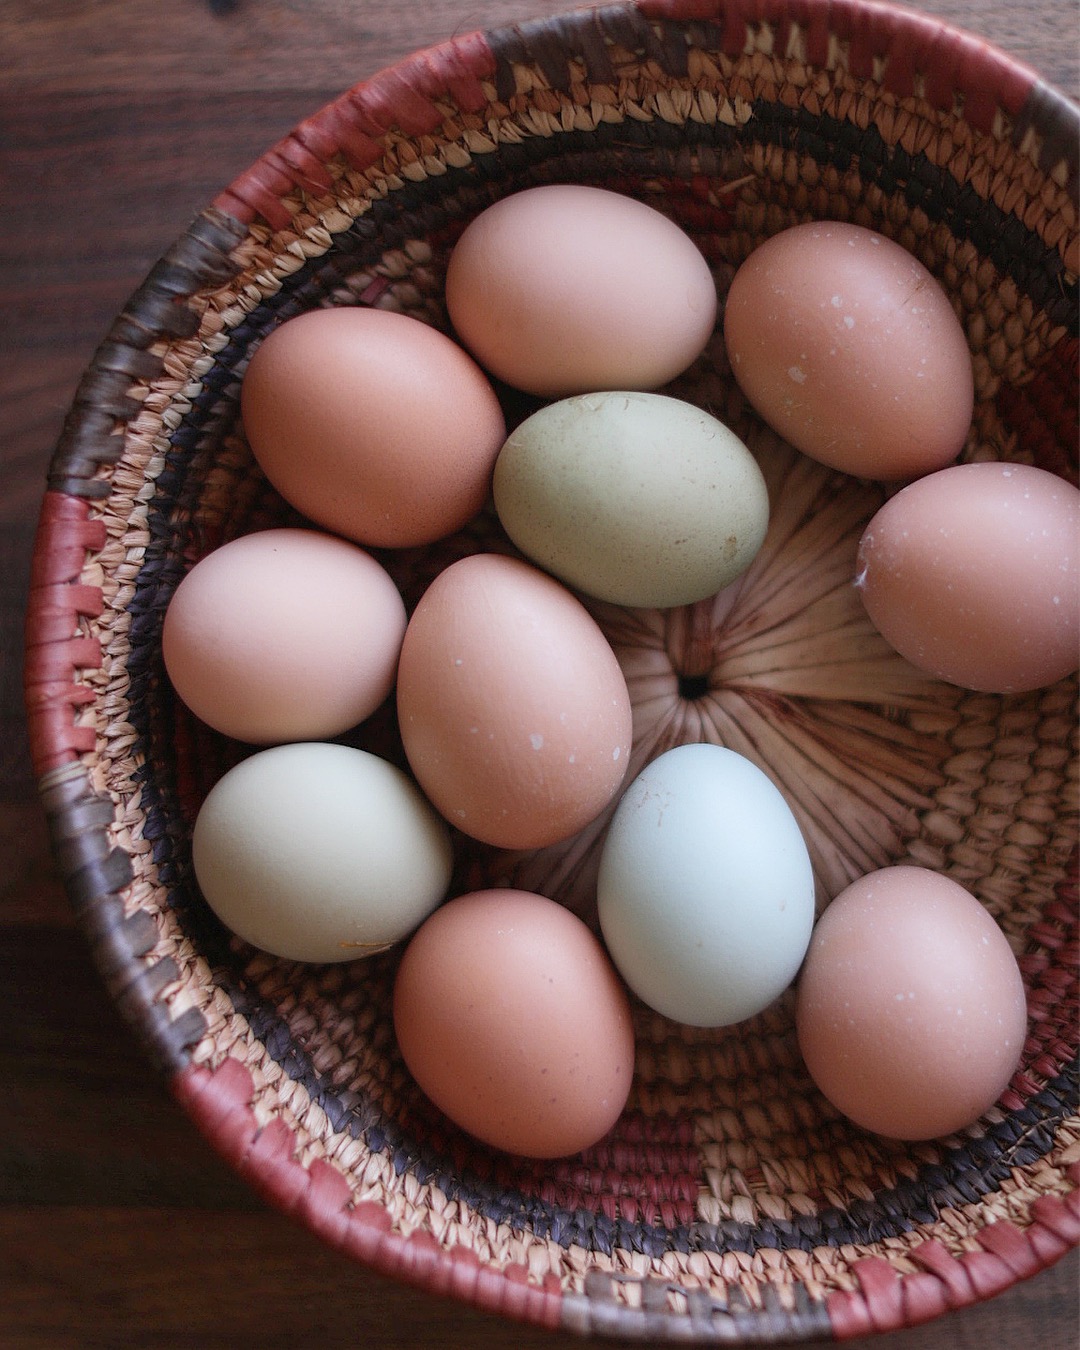
Last thing is egg shell color. Typically people or farms that sell multi-colored eggs love their chickens and the variety that they offer, which could mean that they just downright love their birds. People who love their birds make good eggs…period. They enjoy watch them graze and forage, feed them yummy garden scraps, and love on them. like crazy. Not is every case, but in most scenarios this will be true. If you find eggs like the ones in the picture, they will tend to be of higher quality, but it doesn’t tell the whole story as we have come to understand. There’s always more curiosity to be had and more investigating to be done to find a truly good egg.

We sure do love our chickens and love to watch them graze off the land that God has given us to manage. It’s a blessing to have the privilege of owning animals that not only offer us good company, but ones that offer legitimate sustenance. Until next time, stay curious and creative.